Want to be a Professional Photographer?
![]()
![]()
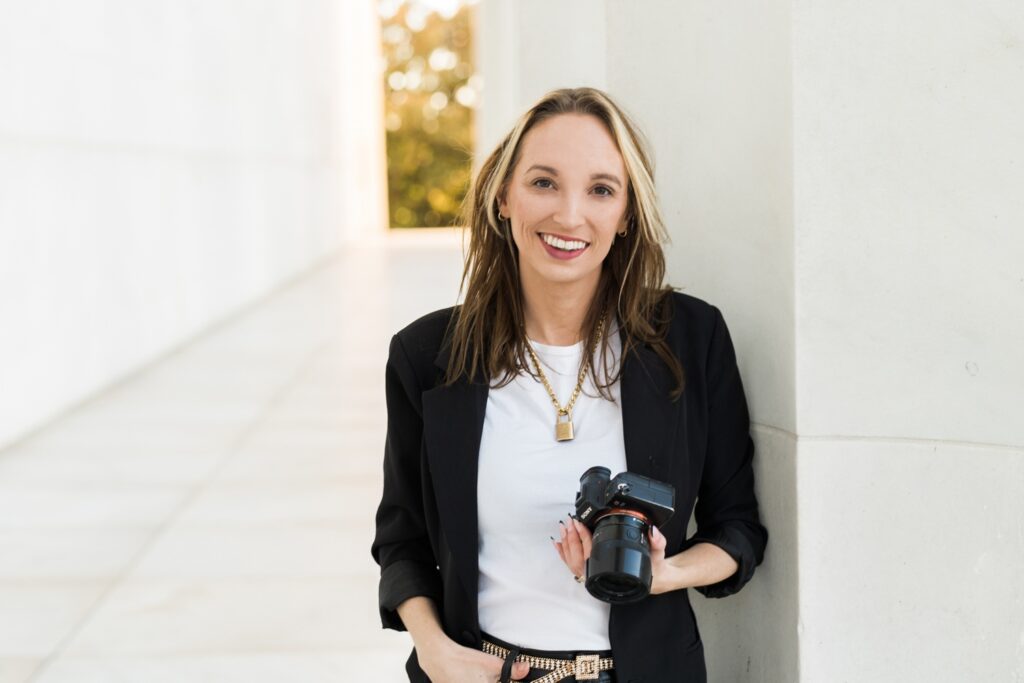
One of the most commonly asked questions I’ve gotten throughout the years in my DMs or from friends, or from literally anyone when they see a camera in my hand is is this: How can I get started in photography? (or really, what camera should I buy?) how to become a professional photographer
Wow, this is a doozy of a question. Typically I need a LOT more information then that, because there’s so many types of photography. Gear is just one aspect of what it takes to be a great photographer, with learning technique and lighting, how to pose people, and the business side (if you’re interested in it as a business) at that.
So I’ve decided to create a guide where we attempt to tackle some of these topics, with real resources so that you can decide what may be perfect for you!
Let’s go! I’m going to dive into the 5 major areas you’ll need to become… a

I mean a photographer.
1. The Equipment
Okay, so big first question. Which kind of photography will you be focusing on? You may be like… I dunno… well you probably should have at least some sort of idea, at least when it comes to the lens that you’ll want to buy.
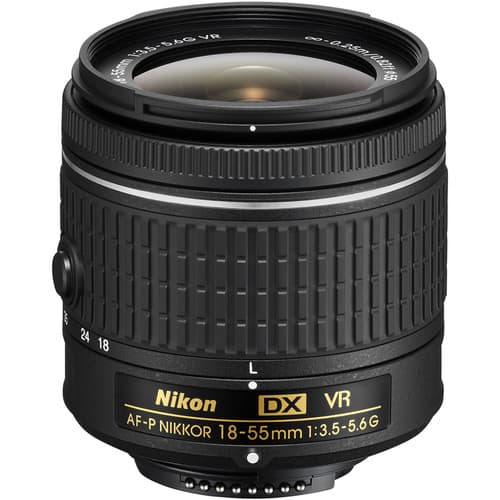
Before we do, let’s talk about a kit lens. This is the lens that comes with a lot of “starter” DSLR cameras. It’s typically an 18-55mm 3.5-5.6 or 18-120mm or something.
This lens will be fine to start with landscape photos, nice shots of your family and groups, and some fun things. But you need a more professional lens if you are wanting to shoot portraits. You cannot easily learn manual with this lens when the F STOP doesn’t go down to at least 2.8.
That means that the kit lens really does not do the “blur effect for backgrounds” that most people are used to seeing for a professional portrait.
The Camera Body:
These are all the professional versions of the mirrorless technology that cameras are heading to. Which brand is best? That’s up for debate. Overall they are going to all be good quality so don’t overthink it too much.
Lenses I think are fabulous:
Portraits –
- 50mm 1.8
- 35mm 1.8 (or 1.4)
Weddings –
- 85mm 1.8
- 24-70mm 2.8
- 70-200 2.8

BE SURE TO CHECK THESE THINGS!!!!!
- Not all of these camera bodies are compatible with all lenses. Check if your camera of choice is FULL FRAME or NOT, and then make sure that lens is for whichever one!
2. Keep in mind if this product is from the USA or “international”. International is often cheaper, but means your equipment probably won’t be covered by any warranty. USA products often have a year warranty with the company. Just make sure to check.
3. ONE number in front of mm means it DOES NOT ZOOM. For example- the Nikon 50mm 1.8 lens is stuck at 50mm focal length. A 16-50mm 3.5-5.6 lens means it ZOOMS from 16-55mm focal length.

2. Lighting
I would start with learning natural light, then add a flash. Studio lighting is not for today in my beginners blog!
You can choose to do photography with the help of flashes, or learn to use natural light. However if you’re ever charging, you do need a flash for indoors or when night hits.
I recommend a flash where you can change the direction of the light, so one where you can point the head in various directions besides directly forward.
Flash recommendations –
- Flashpoint Zoom Li-ion R2 TTL On-Camera Flash for Sony (make sure it’s for YOUR camera brand)
- Nikon SB700
- Canon Speedlite 580 exii
- Yungnuo for Canon
NOTE for all of my equipment recommendations: These are NOT the only good options! But I have to condense or else it’s too overwhelming unless you have more knowledge about the gear!

3. Education
You have to invest in your education if you’re going to work towards charging. The whole purpose of hiring a professional is that you can solve problems for the people seeking your services, so you need to make sure you can do that consistently and reliably.
The best education is always going to be getting out and photographing. However you can definitely scoot your process along much much quicker by finding more education and mentors who can help guide you and show you what works and what doesn’t.
- Creative live – is an awesome hub of photography education and videos that I recommend going through, you can find most topics you may be looking for.
2. Follow photographers you admire on social media – what kind of work are you drawn to? What are these people doing that makes you so excited? How are they doing it? There’s no better way to find out what you love than seeking it out. But don’t get too caught up in someone else’s journey. You want to find your own voice in the midst of it all.
3. Get involved with the photography community – there’s plenty of photographer facebook groups if you just start looking for them. Ask questions, and browse what other people are asking to start soaking up knowledge that way. And maybe you can meet up with some and photograph together!
4. Find a mentor – Want to really jump start your process? Find a great mentor who is successful at what you want to be doing. Don’t take advice from just anyone. Who is really killing it? You can always just cold email someone, but truthfully if they are impressing you, they probably have a reason and have a lot going on. Try and offer them something they may need. Well first… you could pay them. Or at least offer help in some way. That’s going to be a great way to stand out.

 Ready to take the leap and become a professional wedding photographer? Find out the details of my mentorship program here.
—————————————————————————————–
4. GET OUT THERE & TAKE PHOTOS
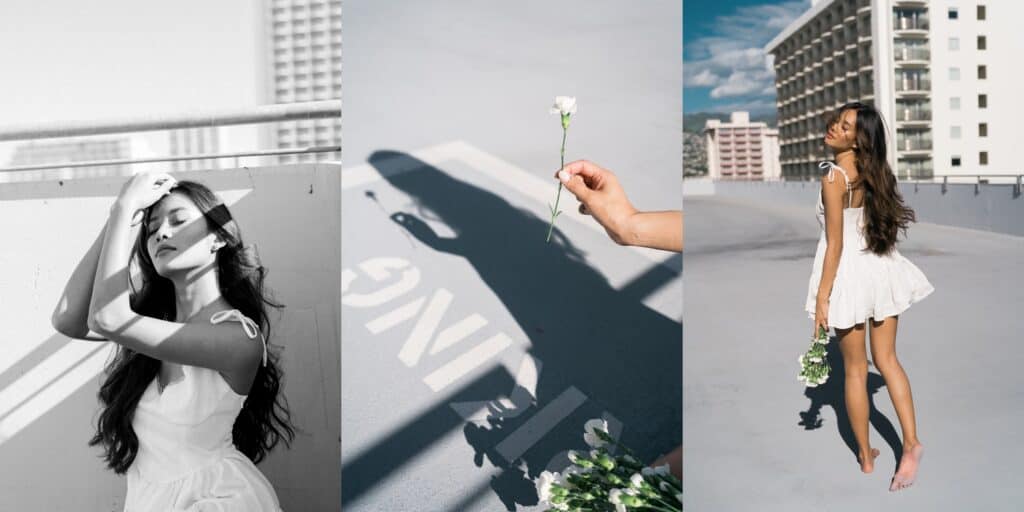
You can’t just sit around waiting to get good enough to photograph. You have to just jump right in. Start by asking your friend or family to just stand in different lights so that you can test your manual settings and see what looks good.
Try to specifically do test shoots in interesting lighting. When the sun is out but there is a lot of shade, that is the perfect time to learn how to manipulate different kinds of light.
Don’t have any friends? Well let’s just move onto where to look for subjects.
Finding models:
It’s easier than it sounds, because I would just recommend reaching out to people to collaborate on instagram. If you have no work, then you’re going to have to offer something. If you can’t guarantee great images at their level, then it makes sense to offer payment for an experienced model.
You can also join local facebook groups and look for people interested in collaborating, and start practicing.
Remember, learning photography is an investment into you and your skills!
—————————————————————————————–
5. Editing Programs
So you’ve taken some great images, now what?! There are multiple ways to edit your images, but by far the most common is with the Adobe Suite programs, Lightroom and Photoshop.
Lightroom is where you can start “culling” your images (narrowing them down) and then editing each one. This is great for exposure, color adjustment, contrast, and more. It’s the best program for getting started.
- I use the monthly subscription with Adobe that includes both photoshop and lightroom for $19.99 a month. Hate to break it to ya, but being a photographer costs money!
I learned both of these programs through watching youtube tutorials.
I recommend getting started by learning lightroom, and then worrying about photoshop later. You can do quite a lot of editing in lightroom, including lightening or darkening parts of the image, and yes you can do blemish removal in lightroom too.
- Most photographers will really start to need photoshop when they are doing things like removing people from the background, or doing more advanced retouching (hair flyaway removal, body altering if that’s something you’re trying to do, etc.)
.
NOTE: Change your camera settings to shoot in “RAW”.
what RAW means: When you take an image as a jpg, the camera condenses and flattens the information so that the file is easier to work with. Changing it to RAW means the file will be bigger, but it also stores a lot more “information” from that moment. So if you accidentally have the wrong exposure, RAW is a LOT more likely to have more data so that you can much more likely recover the image.
I hope you’ve enjoyed my tips to learning photography! It’s truly such a great skill to learn, whether you’re looking to make it a career or not.
—————————————————————————————–
Rae Marshall is a full time wedding and portrait photographer of 15 years, having photographed thousands of sessions and 500+ weddings. She is currently based in Raleigh, North Carolina.

